The wallet on Android and iOS
This page is optional. Everything in this guide can be tested with a wallet in the terminal, which the connect page starts with one command. Build the real wallet when you want to see what your players see.
As installed, the wallet is on the beta network: five storage nodes, named in a file inside the app with each one's certificate, so it trusts no node it was not built to trust. Your app's account will be on the same network.
Android
You need Android Studio with the Android NDK 27.0.12077973, and ANDROID_NDK_HOME set to it. With that in place, set the build up once:
make setup
Then build the wallet and install it on every phone connected over adb:
make install
make android builds the APK without installing it.
iOS
On a Mac with Xcode, and cbindgen:
cargo install cbindgen
Build the Rust SDK for iOS, the wallet's screens, and the app for the Simulator, then install it on the Simulator that is running and open it:
make ios-libs
make ios-frontend
make ios-simulator
make ios-simulator-run
The iOS app runs the same Rust SDK and the same screens as the Android one.
For a real iPhone or iPad, run make ios-device IOS_TEAM= followed by your Apple team id: Xcode signs it with automatic provisioning. A free Apple ID gives a profile that lasts a week; a developer account, a year.
The first run
The first run is the wallet's setup. You read the beta terms and tick each one, and you pick a look.
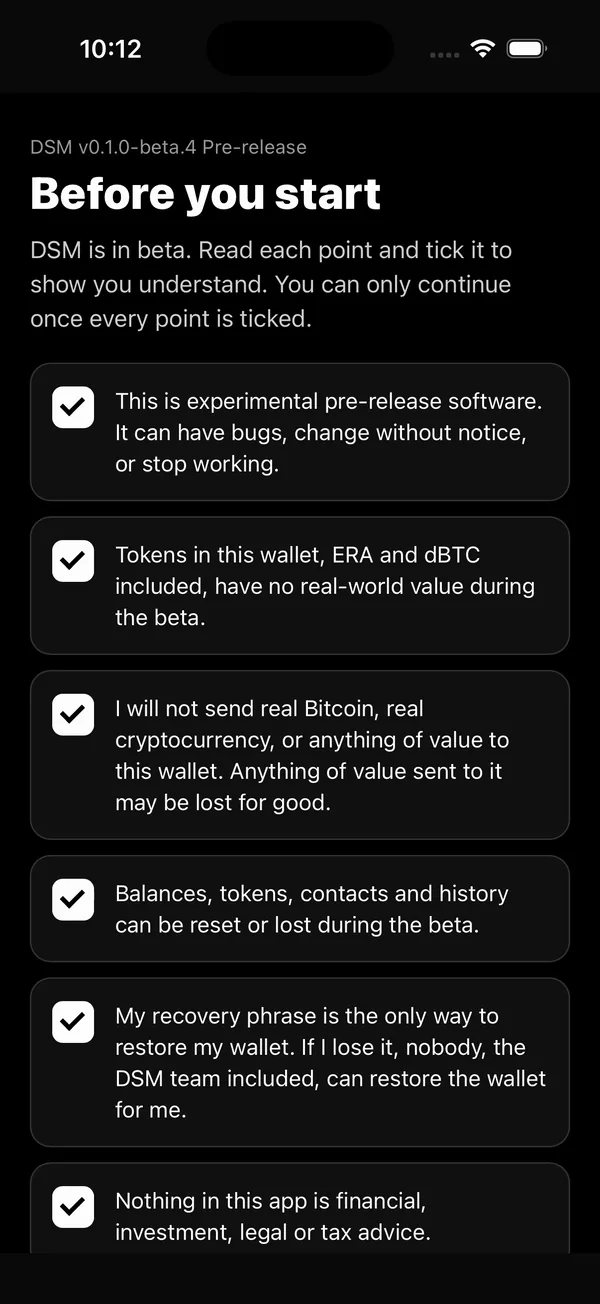
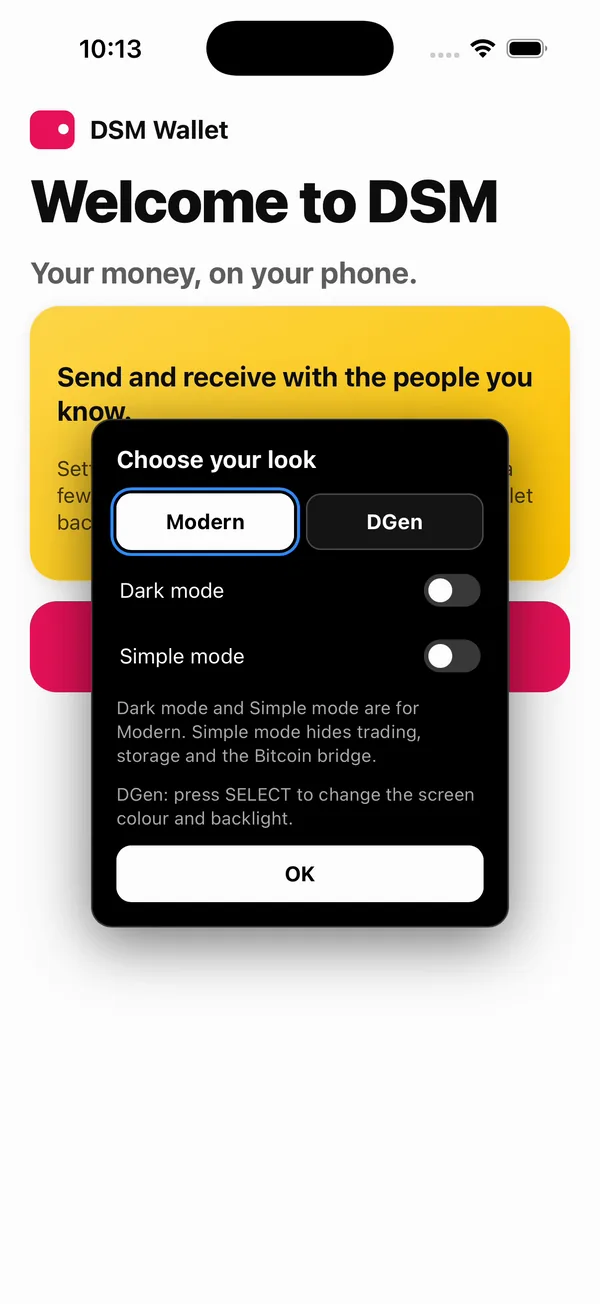
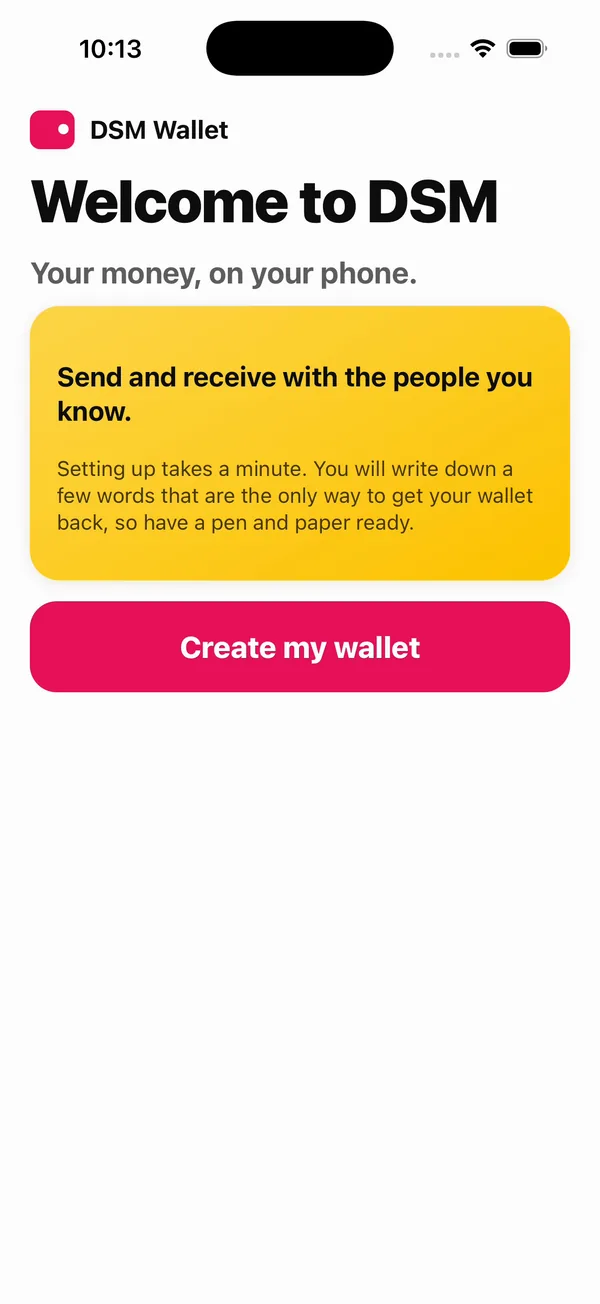
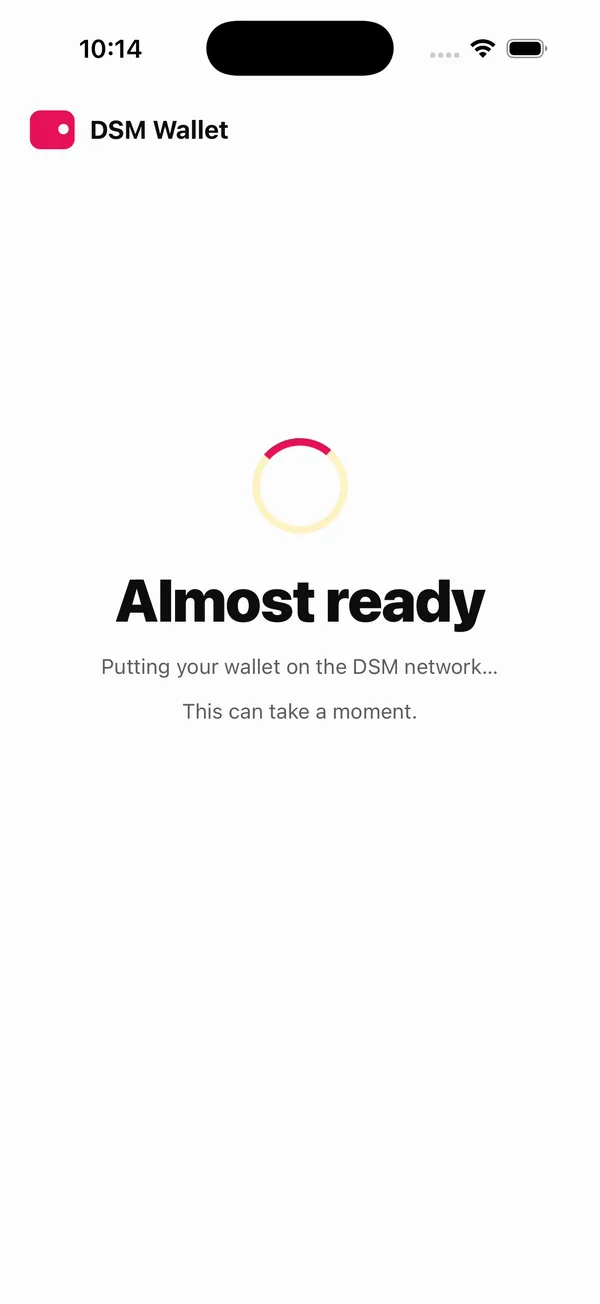
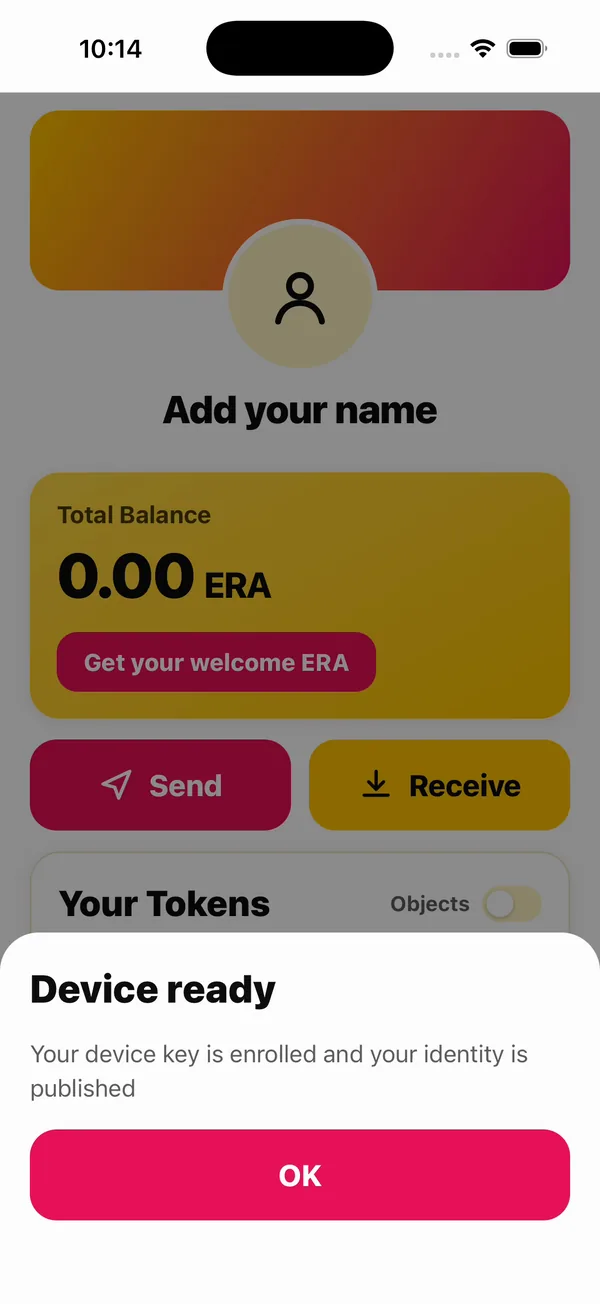
Then the wallet makes its identity on your phone: a recovery phrase of 24 words, which you write down and check. The phrase is not shown here. After the check, the wallet puts itself on the network: it publishes its directory entry to the storage nodes, and then it is ready.
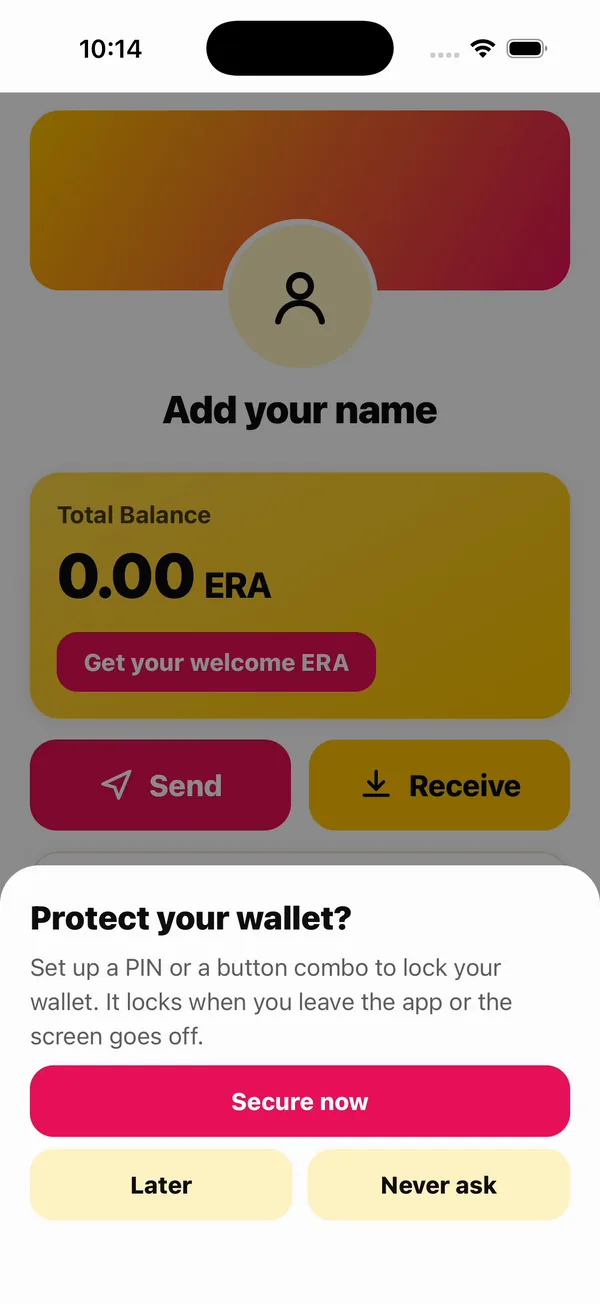
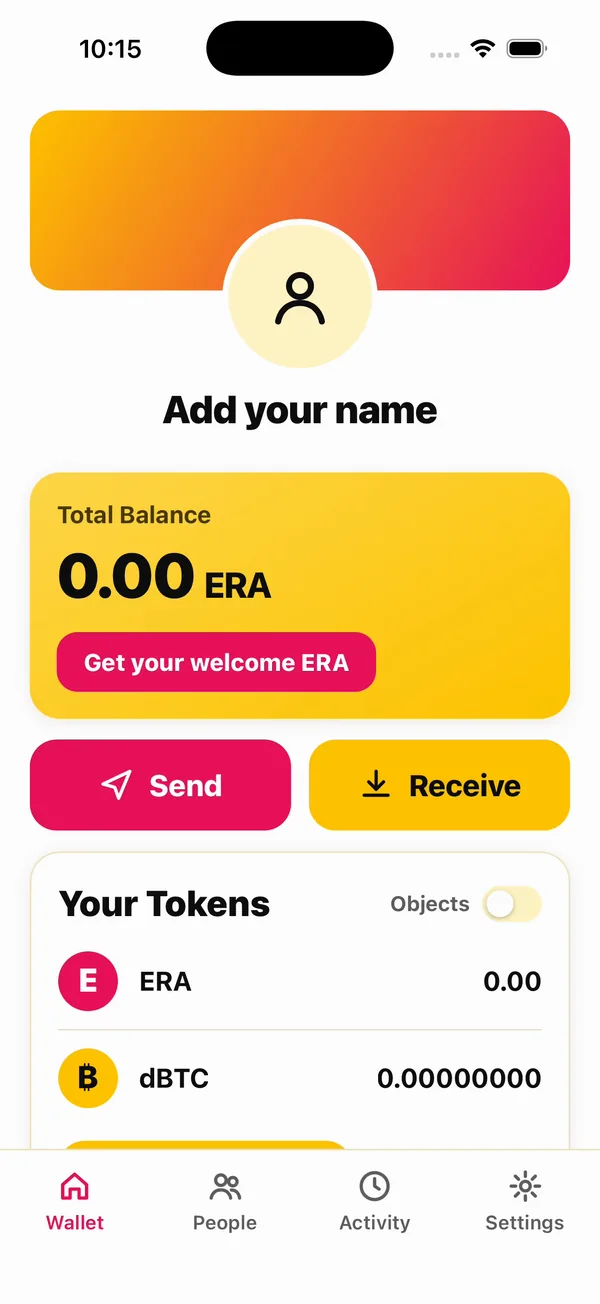
Its first money is one tap: Get your welcome ERA, which the network's faucet gives a new account.
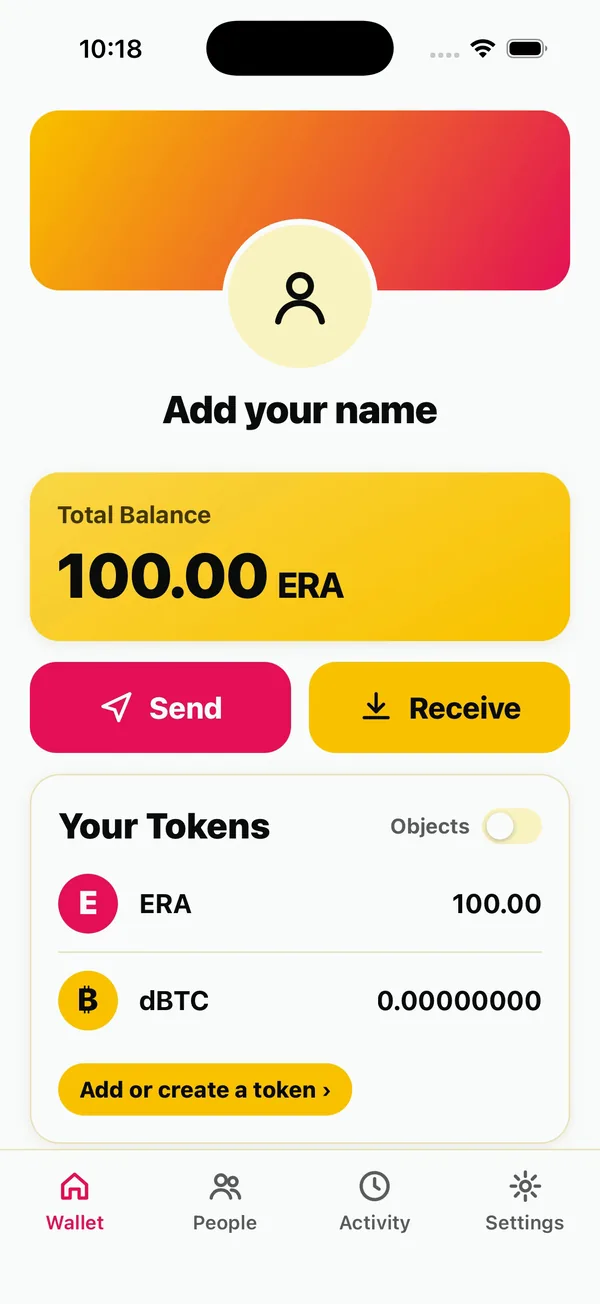
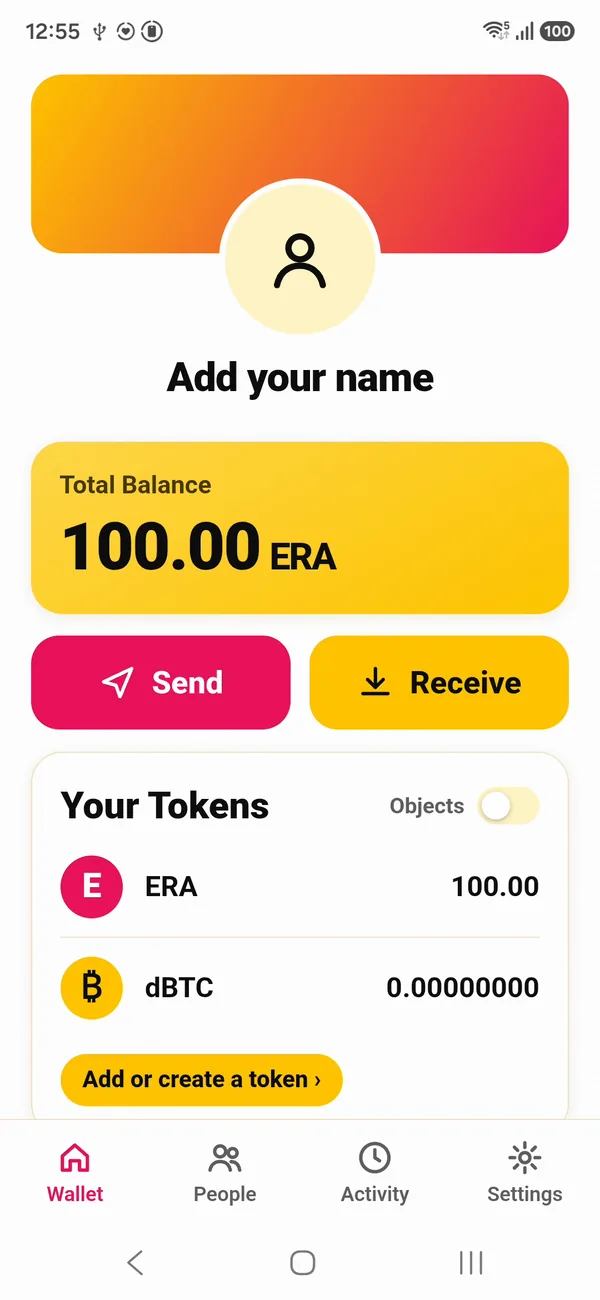
Each wallet now holds ERA from the faucet, so there is something to pay your app with. Nothing of the network runs on your machine.
Next: Your app's own DSM account.